
Unleash Your Inner Designer: A Comprehensive Guide to DIY Clothing Alterations

In a world of fast fashion and ever-changing trends, the ability to alter your own clothes is a superpower. Not only does it save you money and extend the life of your garments, but it also allows you to express your unique style and ensure the perfect fit every time. This comprehensive guide will equip you with the knowledge and skills to tackle a variety of clothing alterations, from simple tweaks to more complex adjustments. So, grab your sewing kit and let’s dive into the world of DIY clothing alterations!
Why Learn DIY Clothing Alterations?
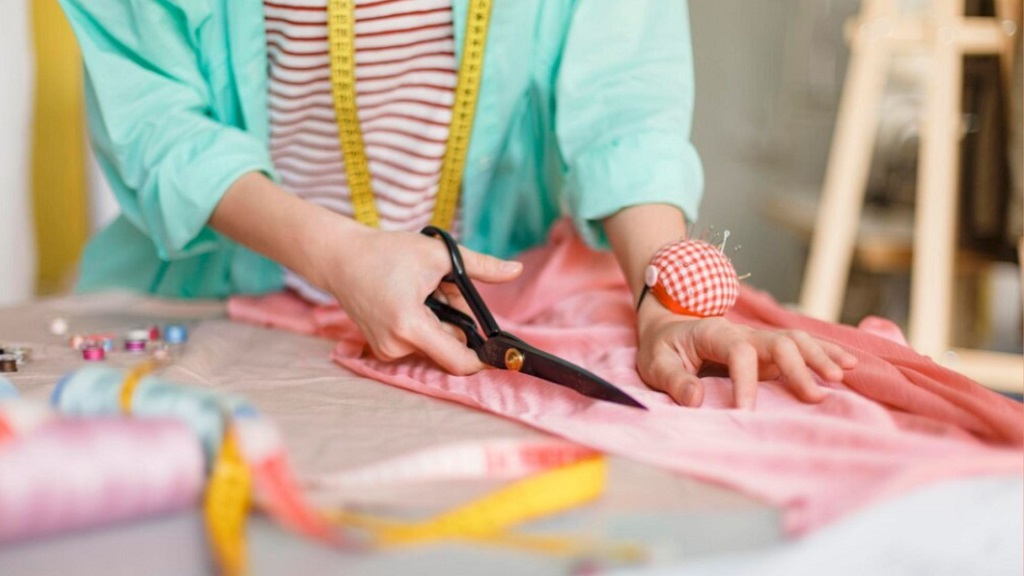
Before we jump into the how-to’s, let’s explore the compelling reasons to learn this valuable skill:
- Save Money: Altering your clothes is significantly cheaper than buying new ones, especially for minor adjustments.
- Perfect Fit: Off-the-rack clothing often doesn’t fit everyone perfectly. Alterations allow you to customize garments to your body shape for a flattering and comfortable fit.
- Extend Garment Lifespan: Give new life to old or ill-fitting clothes by altering them instead of discarding them.
- Express Your Style: Customize your clothes to reflect your personal taste and create unique pieces that stand out.
- Sustainable Fashion: Reduce textile waste by repairing and repurposing existing clothing.
- Creative Outlet: Unleash your inner designer and experiment with different styles and techniques.
Essential Tools and Materials
To embark on your DIY alteration journey, you’ll need a few essential tools and materials:
- Sewing Machine: While not strictly necessary for all alterations, a sewing machine can make the process faster and more efficient.
- Hand Sewing Needles: A variety of sizes for different fabrics and tasks.
- Thread: Choose thread that matches the color and weight of your fabric.
- Scissors: Sharp fabric scissors for clean cuts.
- Seam Ripper: A handy tool for removing stitches without damaging the fabric.
- Measuring Tape: For accurate measurements.
- Pins: To hold fabric in place before sewing.
- Tailor’s Chalk or Fabric Marker: To mark alteration lines on the fabric.
- Iron and Ironing Board: For pressing seams and hems.
- Ruler or Seam Gauge: For precise measurements and markings.
Basic Alteration Techniques
Now, let’s explore some fundamental alteration techniques that will form the foundation of your DIY skills:
-
Hemming
Hemming is the process of shortening or lengthening the edge of a garment. It’s a common alteration for pants, skirts, and dresses.
- Shortening a Hem: Measure the desired length, mark the new hemline, cut off excess fabric, fold the hem allowance, and stitch in place.
- Lengthening a Hem: If there’s enough fabric in the existing hem, you can let it down. Otherwise, you may need to add a fabric extension DIY clothing alterations.
-
Taking in or Letting out Seams
This technique adjusts the width of a garment by altering the side seams or other construction seams.
- Taking in: Measure how much you need to reduce the width, mark the new seam line, and stitch along the line.
- Letting out: Carefully remove the existing stitches along the seam, and re-stitch with a wider seam allowance.
-
Darts
Darts are used to create shape and contour in garments, particularly in the bust, waist, and hips.
- Adding Darts: Mark the dart placement and shape, fold the fabric along the dart lines, and stitch along the marked lines.
- Adjusting Darts: You can alter existing darts to improve the fit of a garment.
-
Replacing Buttons or Zippers
Replacing buttons or zippers is a simple yet effective way to refresh a garment or fix a broken closure.
- Buttons: Remove the old button, mark the new button placement, and sew on the new button.
- Zippers: Remove the old zipper, align the new zipper, and stitch it in place.
-
Patching or Mending
Repairing holes or tears in fabric can extend the life of your clothes and add a unique touch.
- Patching: Cut a piece of fabric slightly larger than the hole, place it over the hole, and stitch around the edges.
- Mending: Use needle and thread to repair small tears or holes.
Advanced Alteration Techniques
Once you’ve mastered the basics, you can move on to more complex alterations:
-
Resizing Garments
Resizing a garment involves more extensive alterations to adjust the overall fit, such as changing the shoulder width, armhole size, or neckline.
-
Restyling Garments
This involves transforming a garment into a different style, such as turning a dress into a skirt or a shirt into a blouse.
-
Working with Different Fabrics
Different fabrics require different techniques and tools. For example, delicate fabrics like silk may require special needles and thread, while thicker fabrics like denim may require a heavy-duty sewing machine.
Tips for Successful Alterations
- Measure Twice, Cut Once: Accurate measurements are crucial for successful alterations.
- Practice on Scrap Fabric: Before altering your favorite garments, practice your techniques on scrap fabric.
- Don’t Be Afraid to Experiment: The best way to learn is by doing. Don’t be afraid to try new techniques and experiment with different styles.
- Take Your Time: Rushing through alterations can lead to mistakes. Take your time and be patient.
- Seek Help When Needed: If you’re unsure about a particular alteration, don’t hesitate to seek help from a more experienced sewer or tailor.
Read More Also: The Influence of Japanese Aesthetics on Contemporary Luxury Jewelry
Popular FAQs
Q: What are some easy alterations for beginners?
A: Hemming pants or skirts, replacing buttons, and taking in side seams are great starting points for beginners.
Q: Where can I find tutorials for specific alterations?
A: YouTube, online sewing blogs, and books on clothing alterations are excellent resources for tutorials.
Q: What do I do if I make a mistake?
A: Don’t panic! Use a seam ripper to carefully remove the stitches and try again.
Q: Can I alter clothes that are too big or too small?
A: Yes, but the complexity of the alteration will depend on the extent of the size difference.
Q: How do I choose the right thread for my fabric?
A: Match the thread color and weight to the fabric. If you’re unsure, consult a fabric store or online resources.
Q: Do I need a sewing machine for alterations?
A: While not always necessary, a sewing machine can make the process faster and more efficient, especially for larger projects.
Q: Can I alter clothes that are made of stretchy fabric?
A: Yes, but you’ll need to use special techniques and possibly a stretch stitch on your sewing machine.
Q: How do I know where to mark the alteration lines?
A: Use tailor’s chalk or a fabric marker to mark the desired measurements or adjustments on the fabric.
Q: Can I alter clothes that are dry clean only?
A: It’s best to consult a professional dry cleaner for alterations on dry clean only garments.
Q: Where can I buy alteration supplies?
A: Fabric stores, craft stores, and online retailers offer a wide variety of alteration supplies.
Conclusion
Learning DIY clothing alterations is a rewarding skill that empowers you to take control of your wardrobe and express your unique style. With a little practice and patience, you can transform ill-fitting garments into perfectly tailored pieces that you’ll love to wear. So, embrace the world of DIY alterations and unleash your inner designer!
Read More:
Best Women’s Dress Shoes for Hot Weather
Decoding the Louis Vuitton Cipher
A Consumer’s Guide to Genuine vs. Fake Markdowns
 Runway to Reality: Luxury Trends for Everyday Wear
  Latest Designer Collections That Scream Affordable Luxury
 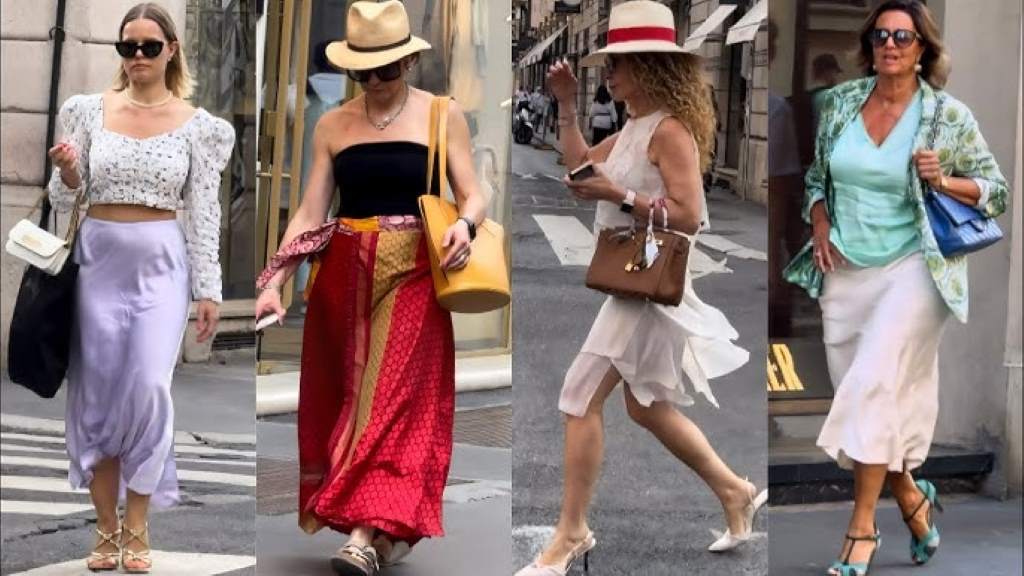 From Paris to Milan: Must-Have Trends This Season
  Why Choose A Homde Jewelry Box For Secure Storage?
 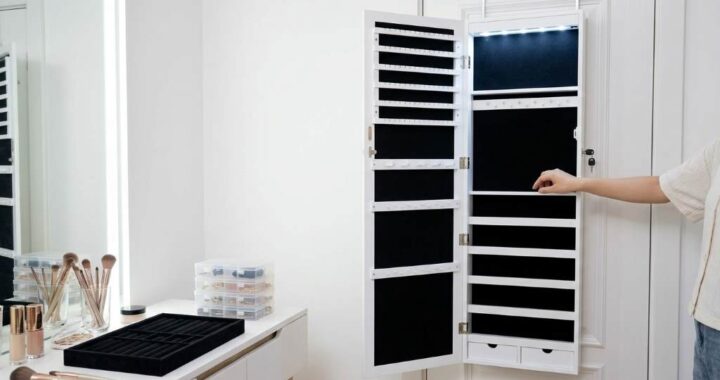 How To Organize With A Songmics LED Jewelry Cabinet?
  How to Assemble a Dumos Mirror Jewelry Cabinet
 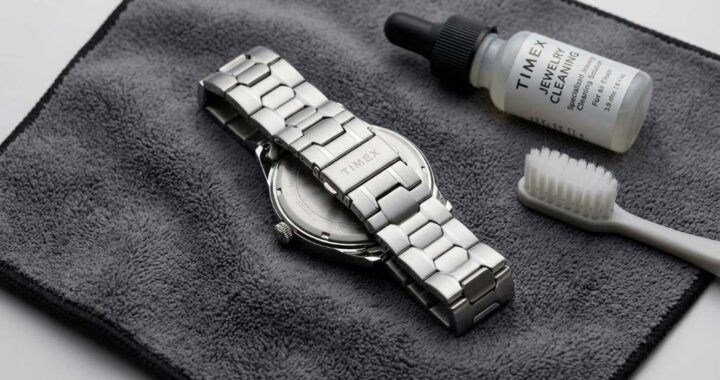 How to Clean a Timex Tribute Stainless Steel Watch